
This extensive guide covers everything from basic eyeshadow application techniques to insight and resources on choosing the perfect palette. Whether you're a beginner or a novice looking to introduce newness to your routine, this comprehensive guide shares a lot. Gain a better understanding of different eyeshadow types, learn how to blend like a pro, and unlock the secrets to achieving both everyday natural looks and dramatic evening styles. Get ready to elevate your eye makeup game with expert insight and practical advice with this guide on the captivating world of eyeshadow!
Step 1: Prime Your Lids
Begin with a clean, smooth canvas.
- Why this matters: Primer helps to secure eyeshadow and prevents creasing.
- How to Prime Your Lids: Apply a small amount of eyeshadow primer (or concealer) to your eyelids and gently blend it out with an eye primer brush.
Step 2: Your Eyeshadow Type
The type of eyeshadow you choose will depend on a few things and each type asks for a different approach and presents a different look.
- Powder Eyeshadow: Potentially the most common type of eyeshadow. From matte to metallic, these blendable powders offer a variety of possibilities. Build them up, blend them out—the control is yours.
- Best for: Layering and Blending
- How to use: Use a fluffy brush for application and blending. Remember to tap off any excess powder before applying to avoid fallout.
- Cream Eyeshadow: Pigment-packed and great for making a bold statement and look. For long lasting wear you’ll want to blend cream eyeshadows with a brush. Remember to watch for creasing—primer is your friend.
- Best for: Bold looks, travel application.
- How to use: Using a clean finger or a flat brush apply to the center of your eyelid before blending outwards. Starting at the center helps to reduce too much buildup.
- Liquid Eyeshadow: Tap into your inner makeup artist. These eyeshadow types tend to deliver intense color, stellar finishes, and serious staying power.
- Best for: Precise application, bold looks
- How to use: Directly swipe onto the eyelid with the applicator and blend with a brush or clean fingertip.
Step 3: Applying the Eyeshadow
- Begin with a Transition Shade:
- Create depth and help blend the rest of your shadows with this soft matte shade applied to your crease.
- How to apply: Using a back-and-forth motion with a fluffy brush sweep the color into the crease. Crease (natural fold of skin above the eyelid)
- To better define and shape the eyes apply darker shades in the crease.
- To avoid harsh lines blend well.
- Applying Your Main Lid Shade:
- This is the shiny or bold color that is applied to the center of your eyelid.
- How to apply: Using a flat brush or clean fingertip to press onto your eyelid for maximum pigment.
- Highlighting Your Inner Corner and Brow Bone:
- A light shimmer at the inner corner and under the brow brings light to the eyes.
- Time to blend everything Together:
- Sweep your makeup brush to diffuse the shade and soften edges. Be sure to blend one shade in before you move on to the next, starting with lighter colors first
Step 4: Time For Liner & Mascara
- Liner (Optional): You can better define your eyes with eyeliner applied to the upper lash line. You can use eyeliner pencil or gel.
- Mascara: To finish the look and open up the eyes you’ll apply mascara to the top and bottom lashes
Extra Insight: Choosing Your Eyeshadow Palette
Remember Choosing the Right Eyeshadow Palette you’ll want to consider things like your eye color, season and occasion. You can try on virtually to get a better idea of your perfect palette pairing.
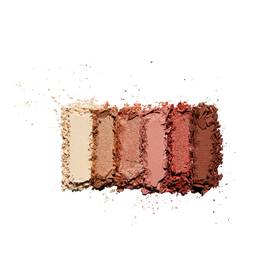
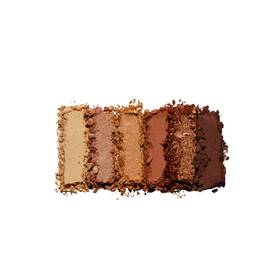
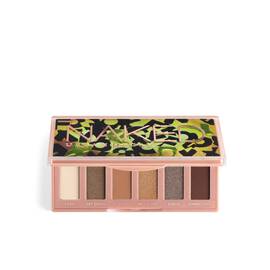
When it comes to color selection, think about what hues complement your skin tone and eye color. Neutral palettes, like Naked Reloaded Eyeshadow Palette, with warm undertones are universally flattering and provide a solid foundation for any look. However, if you're feeling adventurous, don't hesitate to explore palettes with bold pops of color or trendy shades that inspire you.
Additionally, pay attention to the size of the palette and whether it includes a mirror and applicators for convenience on-the-go. Ultimately, choose a palette that speaks to your creativity and allows you to experiment with different looks effortlessly. With the right palette in hand, the possibilities are endless! For those who prefer a more streamlined approach, mini eyeshadow palettes are a fantastic option. These compact palettes often feature a curated selection of shades that are carefully coordinated, making them easier to navigate for beginners. Plus, their smaller size makes them ideal for travel or tossing into your purse for touch-ups on the go.
How to Create a Basic Smokey Eye for Beginners?
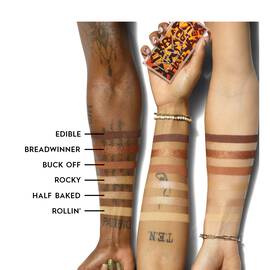
Ah, the timeless smokey eye – a classic look that exudes effortless glamour. But fear not, beginners, achieving this sultry style is easier than you think! Start by applying a dark eyeshadow shade along your upper lash line, gradually blending upwards towards the crease. Don't forget to blend, blend, blend for that signature smokey effect. Pro tip: Use a clean blending brush to soften any harsh lines for a flawless finish. With a little practice and a whole lot of confidence, you'll be rocking the smokey eye like a true beauty boss! And remember to consider your activity and location, if there is a chance you might get wet invest in waterproof makeup like the Naked Eyeshadow Stick.
There you have it, beauties – your ultimate guide to applying eyeshadow for beginners. Remember, makeup is all about having fun and expressing your unique style. So, grab your brushes, and unleash your creativity.
Explore Eyeshadow Collection
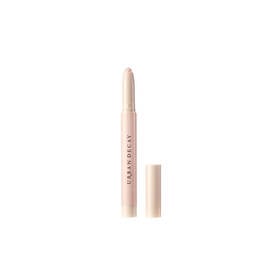


New
Naked Eyeshadow Stick
Color:
Top Off
Select a colour for Naked Eyeshadow Stick
Old price New price $25.00

DISCONTINUED


Best Seller
Urban Decay Eyeshadow Primer Potion
Color:
Original (Nude) *Dries Translucent For A Clean Base
Select a colour for Urban Decay Eyeshadow Primer Potion
Old price New price $28.00

New
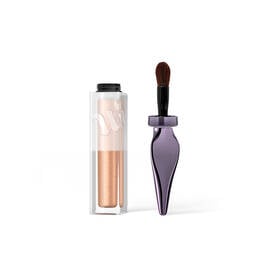
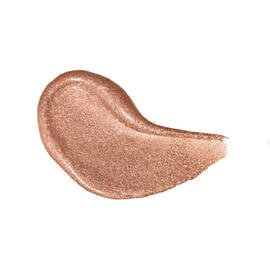
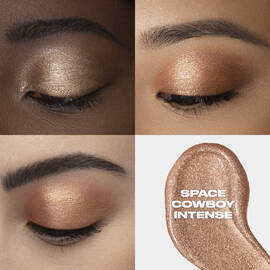
24/7 Glaze-On Liquid Eyeshadow
Color:
Space Cowboy Intense
Select a colour for 24/7 Glaze-On Liquid Eyeshadow
Old price New price $26.00


